> For the complete documentation index, see [llms.txt](https://support.docstudio.com/llms.txt). Markdown versions of documentation pages are available by appending `.md` to page URLs; this page is available as [Markdown](https://support.docstudio.com/user/mailbox/mailbox-user/how-to-add-a-contact-to-a-mailbox.md).
# How to Add a Contact to a Mailbox
This document explains how to add, search, and reuse contacts when sending envelopes.
Add recipients to **Contacts** using their **Mailbox UUID**. Then reuse them when you create envelopes.
Saved contacts help you find recipients faster and keep working even if their email is hidden. If you don’t know the UUID, see [How to Find a Mailbox ID (UUID)](/user/mailbox/mailbox-user/how-to-find-a-mailbox-id-uuid.md).
### Add a contact
1. Open **Contacts**.
2. Click the **Add contact** icon .
3. Enter the **Mailbox UUID**.
4. Edit the contact name if needed.
5. Click the button.
The contact appears in **Contacts** and becomes available when you send an envelope.
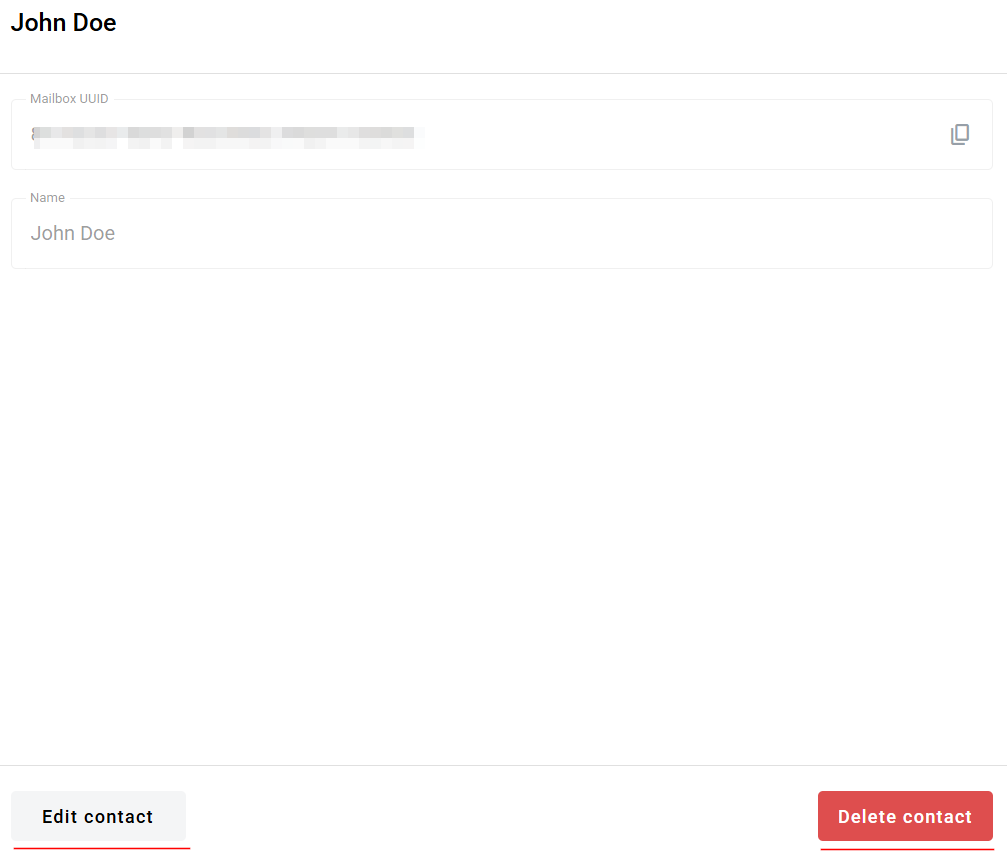
### Edit a contact
{% columns %}
{% column width="50%" %}
1. Click the button.
2. Update the contact details.
3. Click the button.
The contact details are updated.
### Delete a contact
1. Click the button.
2. In the modal, click the button to confirm deletion.
The contact is removed from **Contacts**.
{% endcolumn %}
{% column width="50%" %}
{% endcolumn %}
{% endcolumns %}
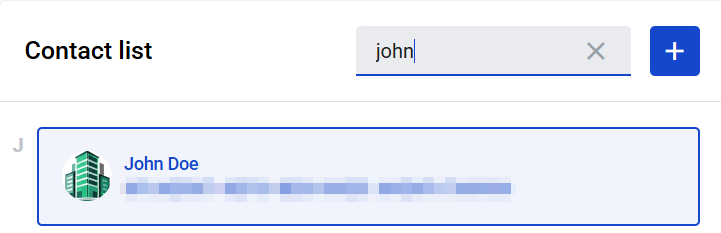
### Search contacts
1. Start typing a contact name in the search field.
2. Select the contact from the list.
The list filters automatically as you type.
### Use contacts when sending an envelope
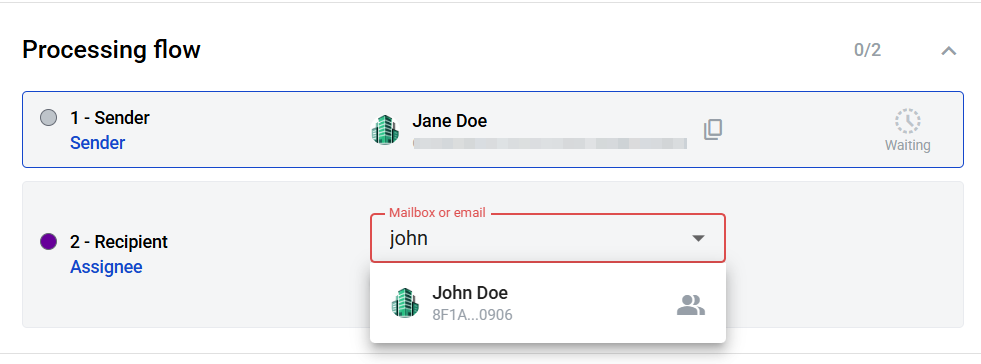
After you add a contact, you can reuse it in the recipient picker. This works even if the recipient email is hidden.
1. Start creating an envelope.
2. In the recipient field, start typing the contact name.
3. Select the contact from the list.
The contact is added to the recipient field.

 .
3. Enter the **Mailbox UUID**.
4. Edit the contact name if needed.
5. Click the
.
3. Enter the **Mailbox UUID**.
4. Edit the contact name if needed.
5. Click the  button.
The contact appears in **Contacts** and becomes available when you send an envelope.
### Edit a contact
{% columns %}
{% column width="50%" %}
1. Click the
button.
The contact appears in **Contacts** and becomes available when you send an envelope.
### Edit a contact
{% columns %}
{% column width="50%" %}
1. Click the  button.
2. Update the contact details.
3. Click the
button.
2. Update the contact details.
3. Click the  button.
2. In the modal, click the
button.
2. In the modal, click the  button to confirm deletion.
The contact is removed from **Contacts**.
{% endcolumn %}
{% column width="50%" %}
button to confirm deletion.
The contact is removed from **Contacts**.
{% endcolumn %}
{% column width="50%" %}