File field
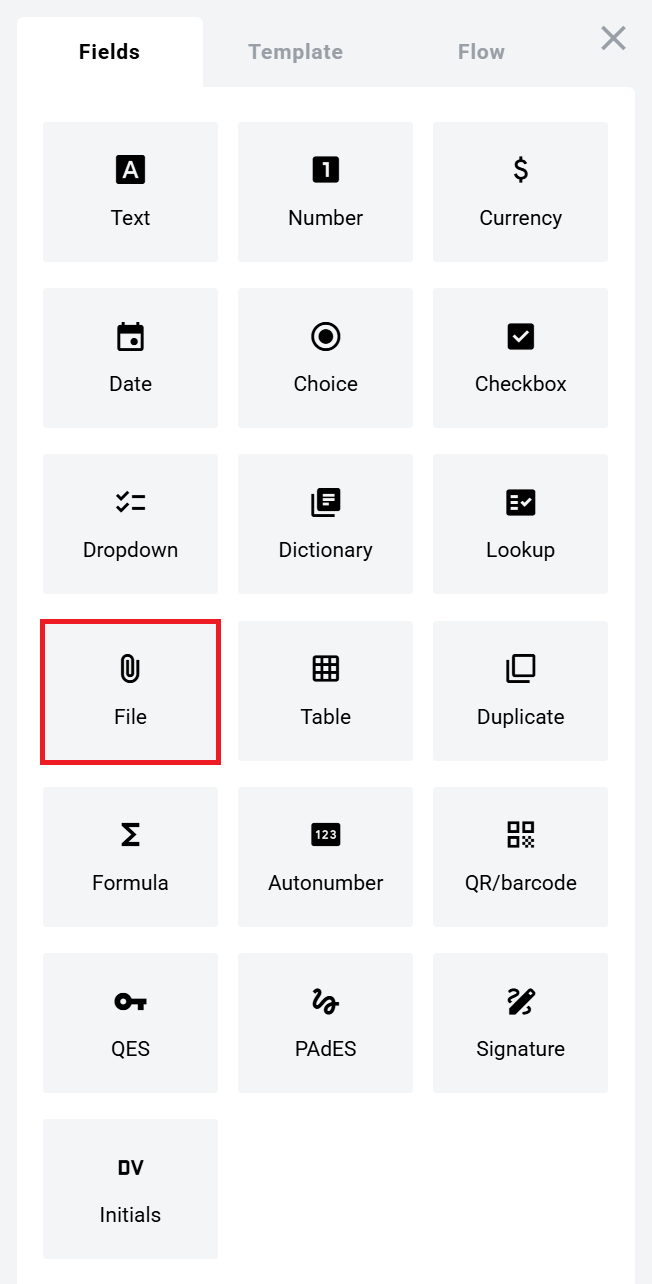
Add a file field

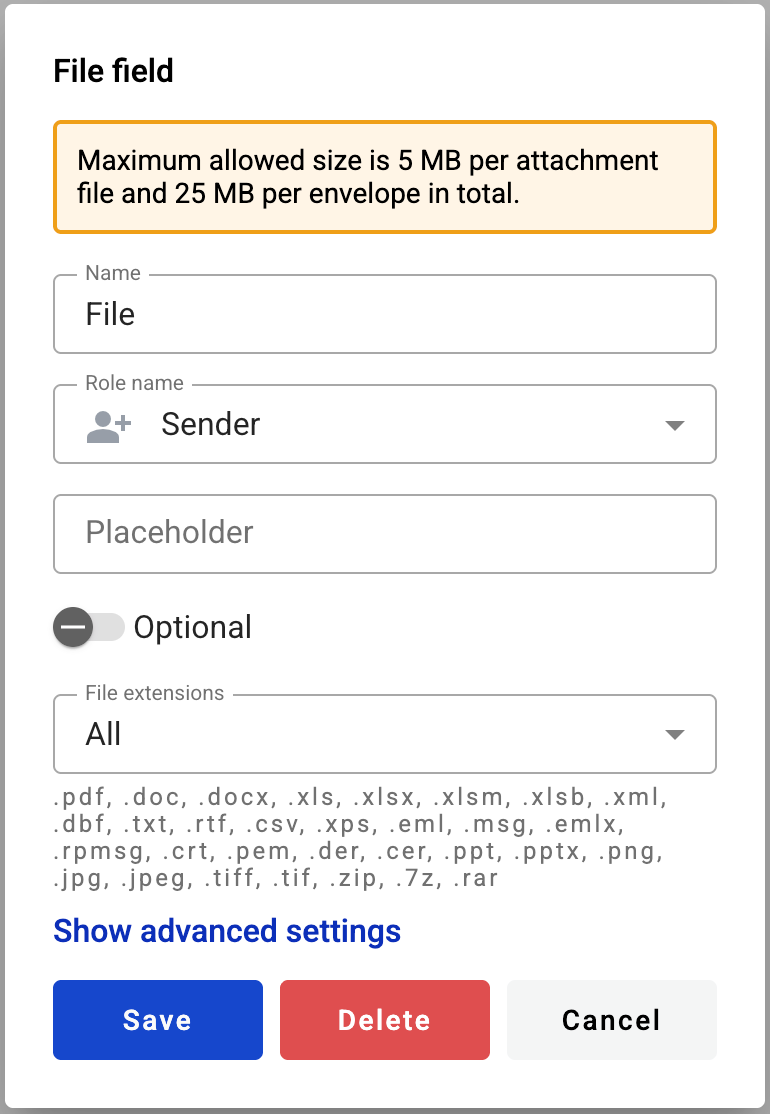
Field settings
Basic settings
File extension values
Limits
Fill a file field in the envelope
Edit or delete a file field
Last updated