Mailbox settings let you manage mailbox identity and forwarding.
Use this section to copy the mailbox UUID, rename the mailbox, and manage aliases.
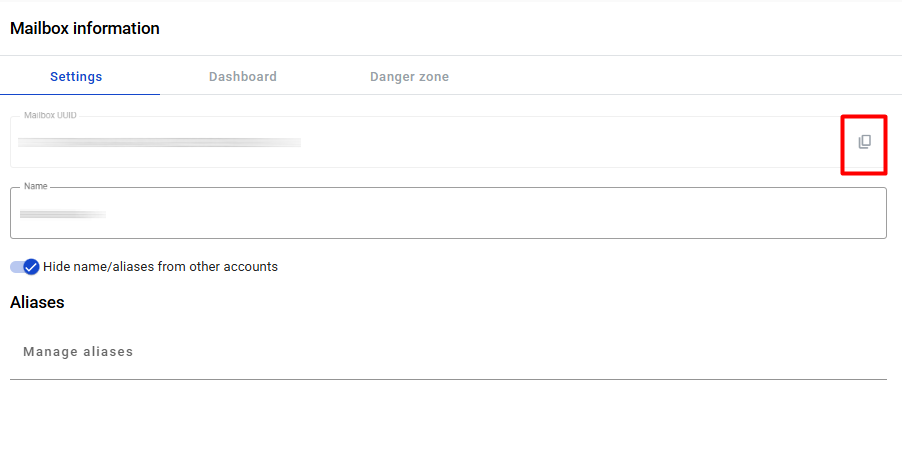
Copy the mailbox UUID
Click the icon next to the mailbox UUID.
Click to view the screenshot...
After copying, you’ll see a notification in the top-right corner.
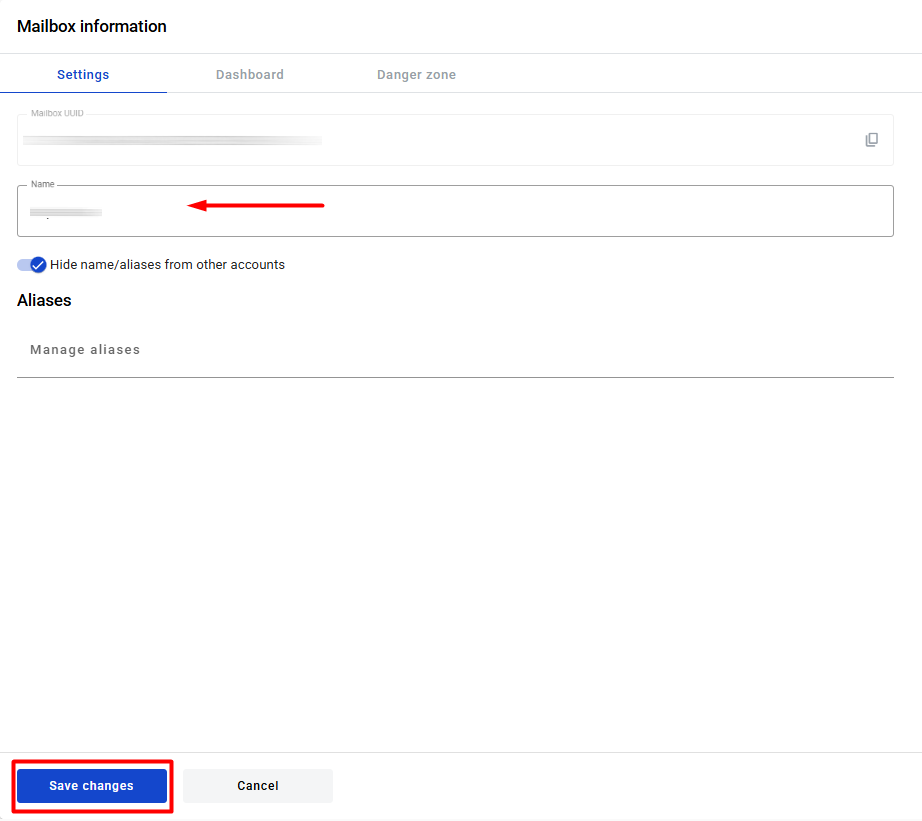
Edit the mailbox name
The Name field is 1–255 characters.
Hover the mailbox name and edit it.
Click to view the screenshot...
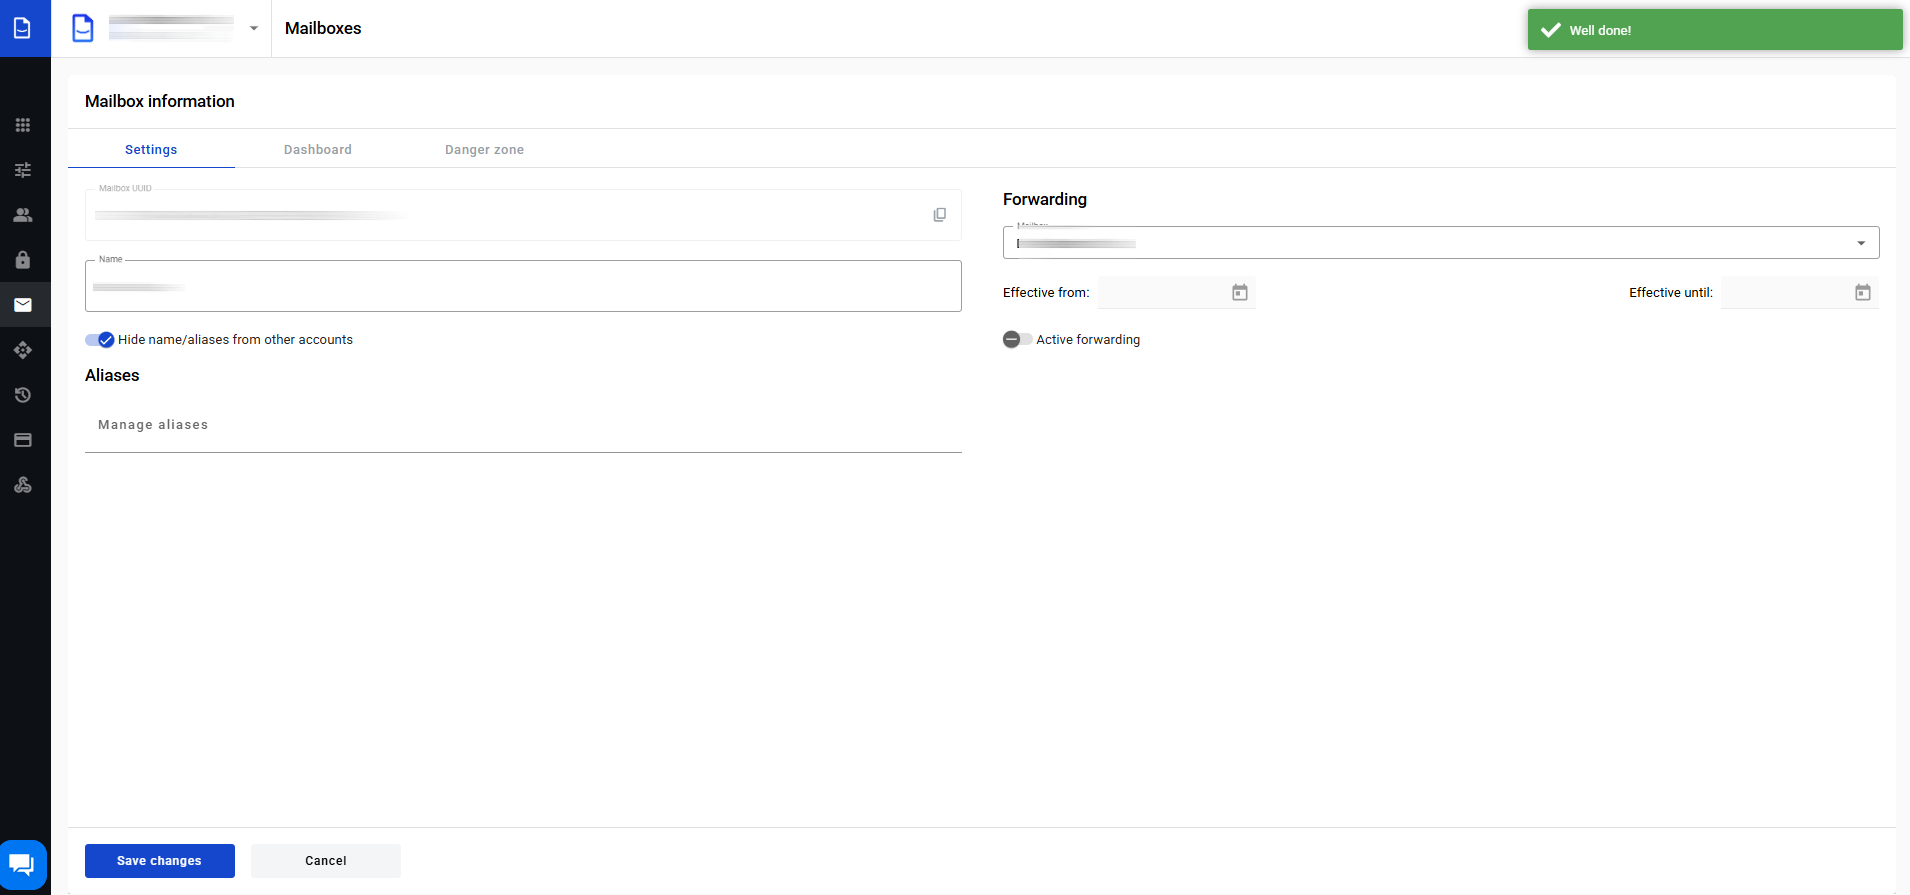
After saving, you’ll see a notification in the top-right corner.
Click to view the screenshot...
Hide mailbox name and aliases
Enable Hide name/aliases from other accounts to hide the mailbox from system members.
When enabled, the mailbox name and aliases are visible only to users with access to the account.
Click to view the screenshot...
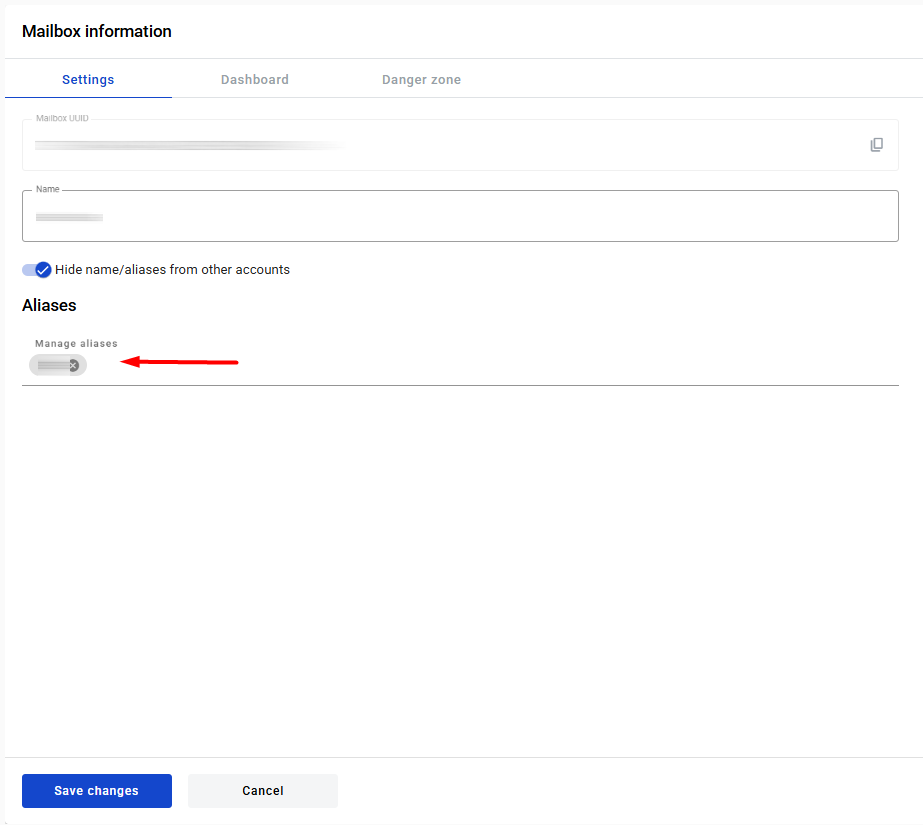
Manage mailbox aliases
Two identical aliases cannot be added to one mailbox.
Two different mailboxes can have the same alias.
To ensure your alias is unique systemwide, use a qualified alias.
A qualified alias uses a prefix with a colon (for example, TIN:youralias).
For qualified aliases, only letters, numbers, and dashes are allowed.
Click to view the screenshot...
Press Enter, . or , to add it to the list.
Click to view the screenshot...
Remove an alias
Click the remove icon next to the alias.
After saving, you’ll see a notification in the top-right corner.
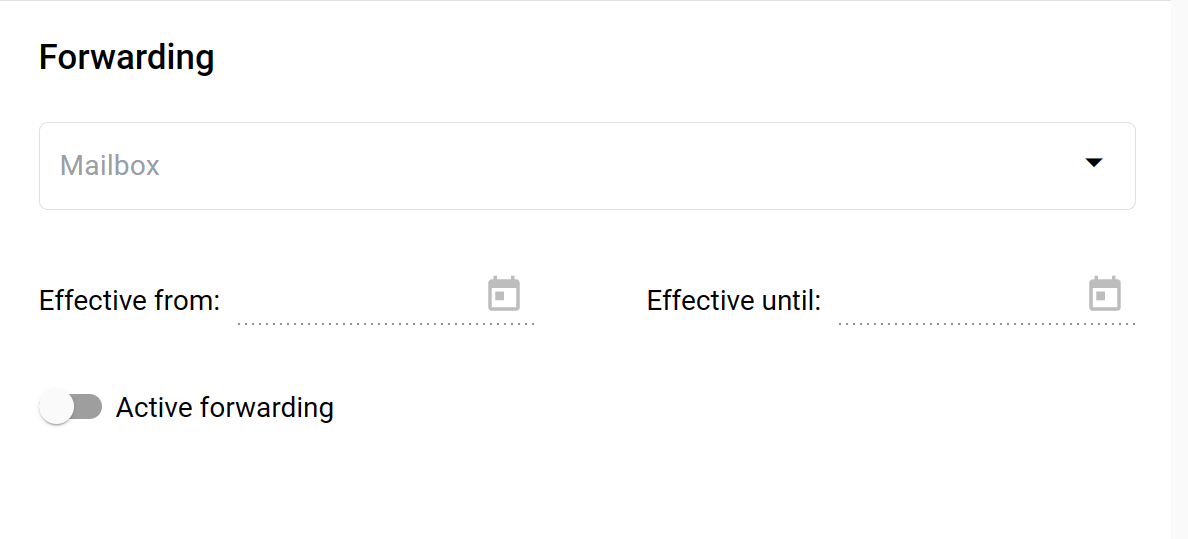
Use this section to forward all incoming envelopes automatically.
Click to view the screenshot...
Select a delegate mailbox.
Set Effective from (optional).
Set Effective until (optional).
Enable Active forwarding.
To disable forwarding, turn off Active forwarding and click .