Create templates to build envelopes.
A template can contain one or more documents.
Create a template
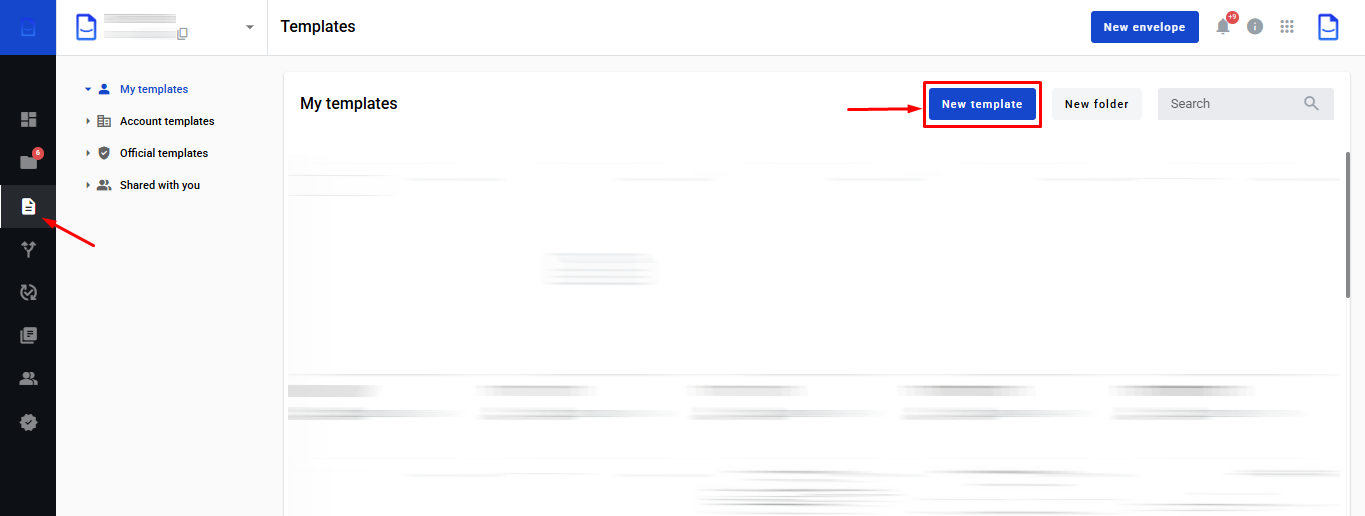
In the left sidebar, open Templates.
Click to view the screenshot...
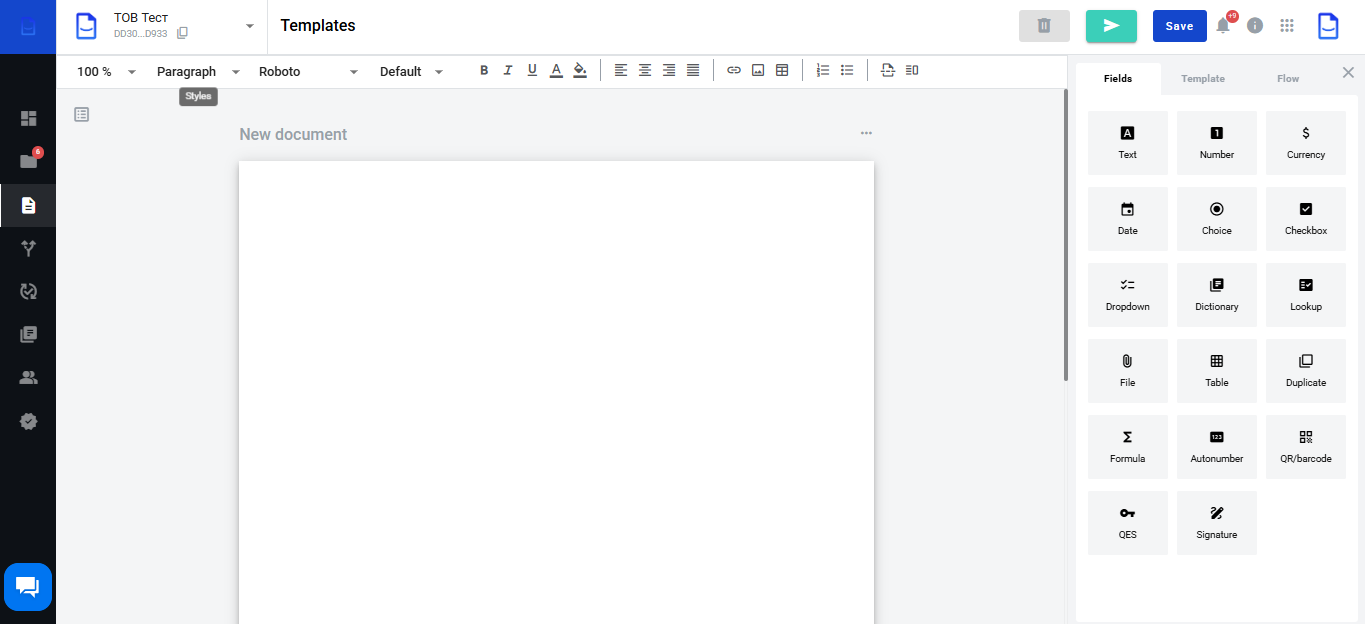
The template editor opens.
Click to view the screenshot...
Structured documents (default)
By default, the template uses a structured format.
A structured document can include text and DocStudio fields.
Click to view the screenshot...
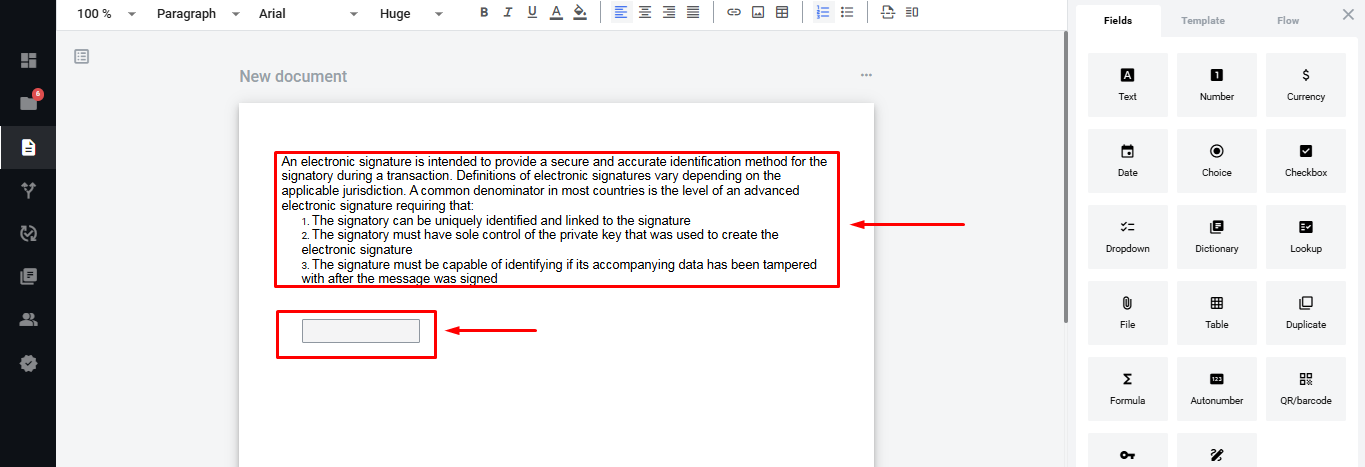
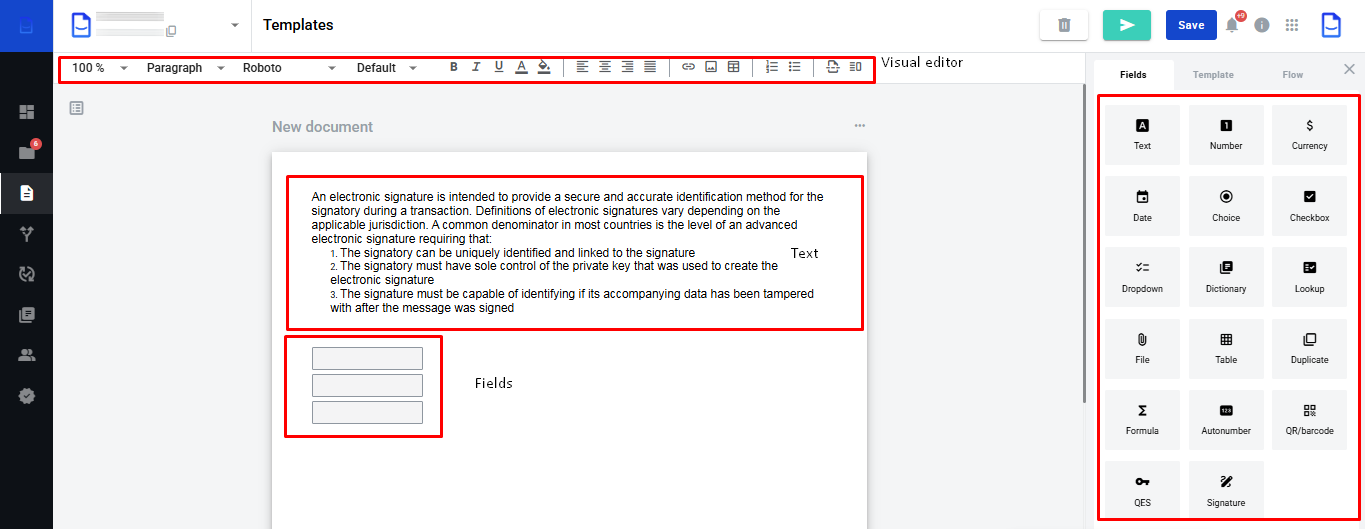
Working with a structured document includes:
text, tables, and images in the visual editor (static content)
fields filled in by participants in the document flow
Click to view the screenshot...
The visual editor lets you format the document.
You can add paragraphs, change fonts, and insert tables or links.
Add external or PDF documents
You can add external documents or PDFs to the template.
Click .
Choose the document format.
Click to view the screenshot...
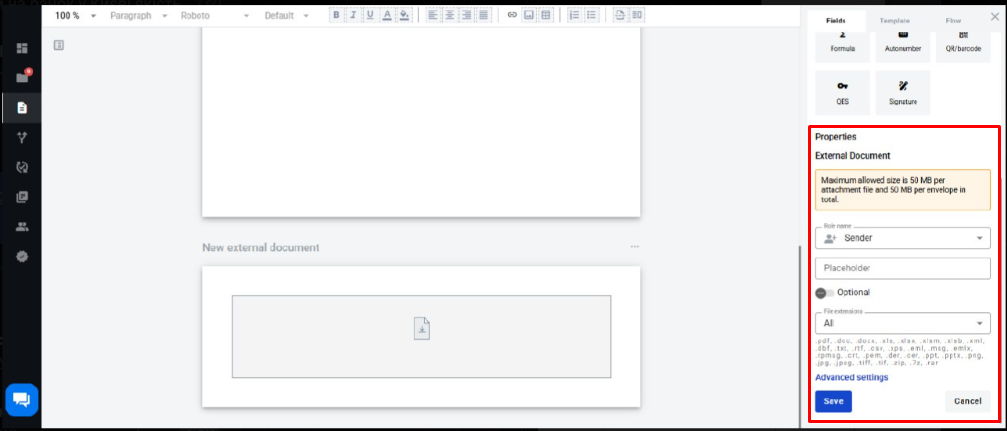
Select the added document to see its properties.
The properties open in the right sidebar.
Click to view the screenshot...
You can add fields like Signature only if the document has a file area.
Click to view the screenshot...
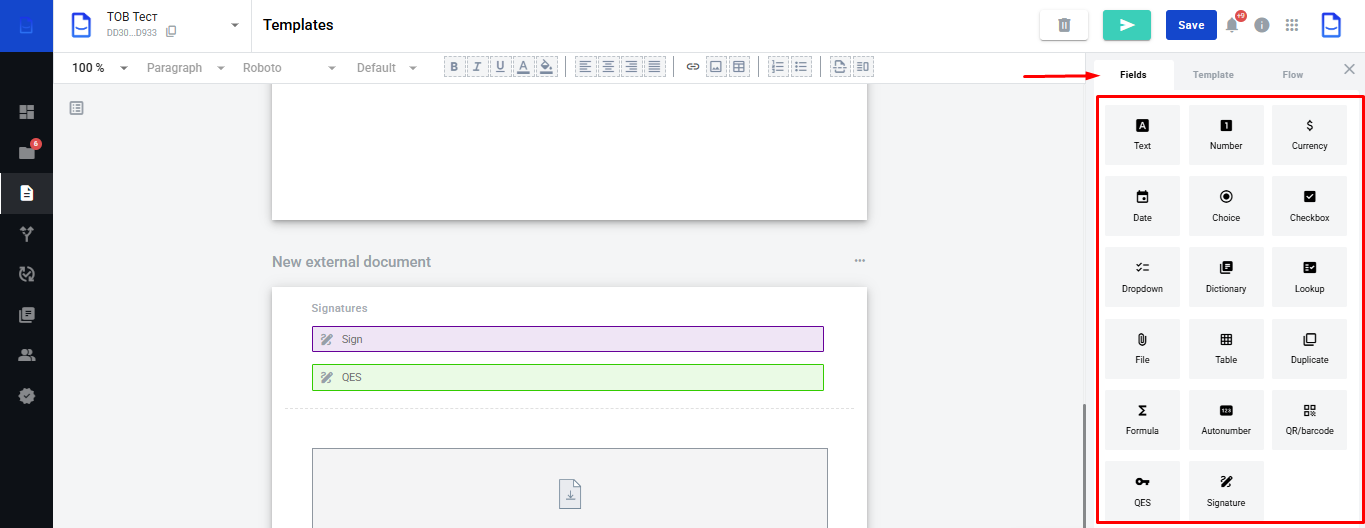
Use Fields to add fields to a structured document.
Click to view the screenshot...
Field reference is in Template Dynamic Fields, including:
Template settings
Template settings are available right after creation.
Use Template and Processing.
Click to view the screenshot...
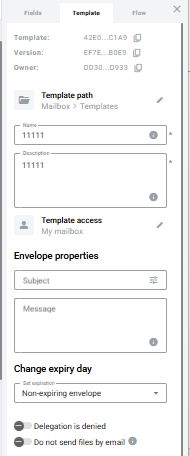
Use Template for the main details and settings.
Required fields have a red asterisk (*).
Name and Description are required.
By default, the template is created in My Templates.
Access is limited to the mailbox level.
Use the pencil icon to change the location and access level.
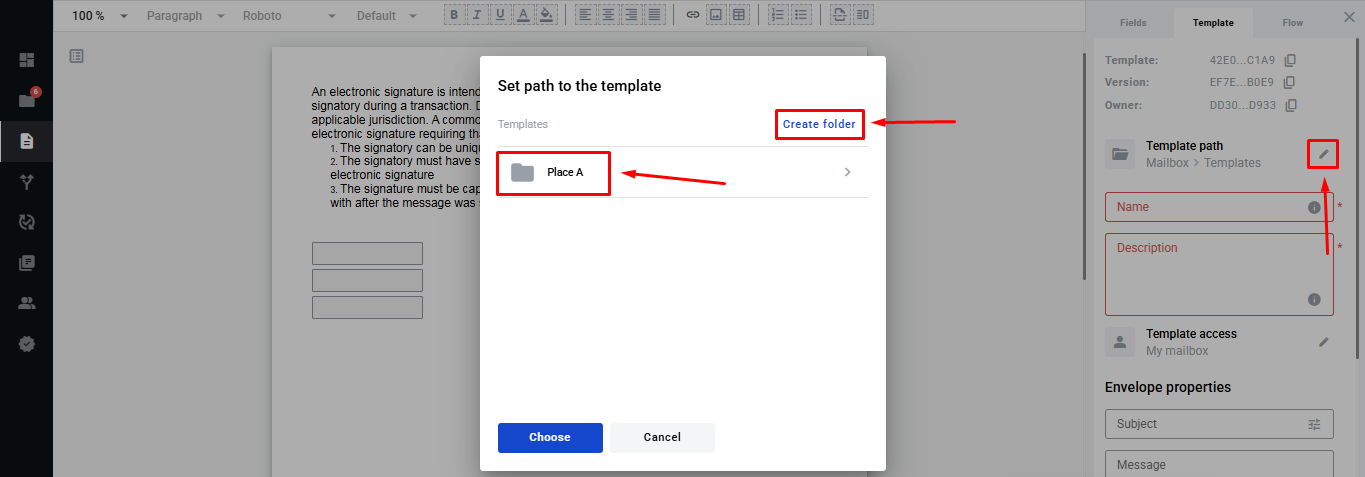
Set the template location
In the modal, create or select a folder.
Click to view the screenshot...
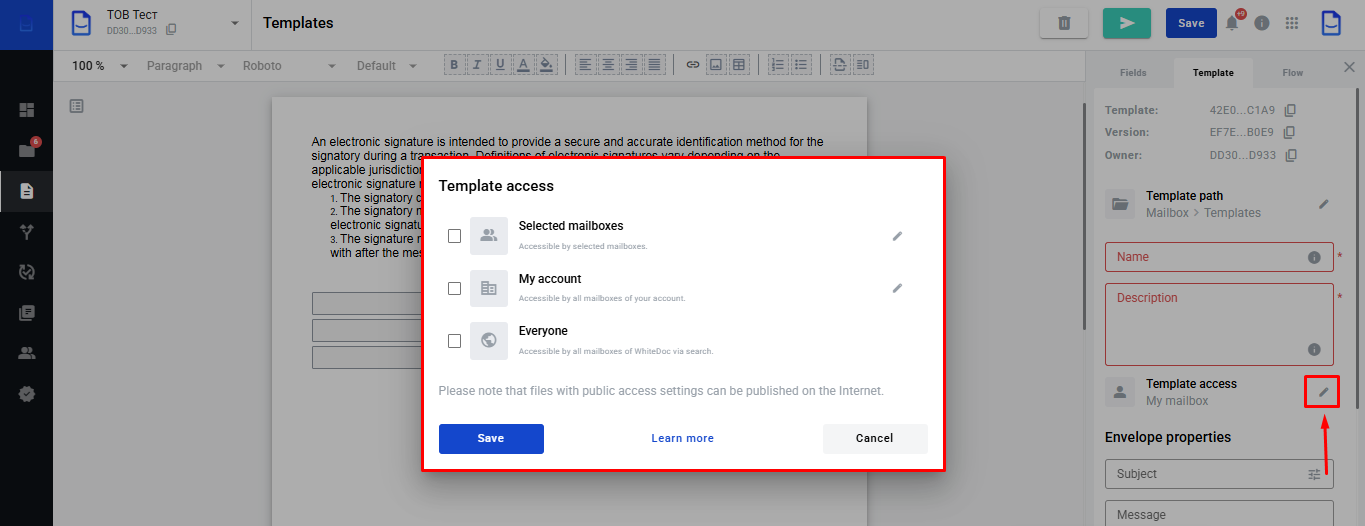
Set the template access level
All templates are accessible at the mailbox level by default.
To change the access level, click:
Click to view the screenshot...
After adding to Favourites, the template appears in Templates - Shared with You.
You can also extend access to the account or public.
Public access allows all WhiteDoc users to access the template.
Account access applies to all mailboxes in the account.
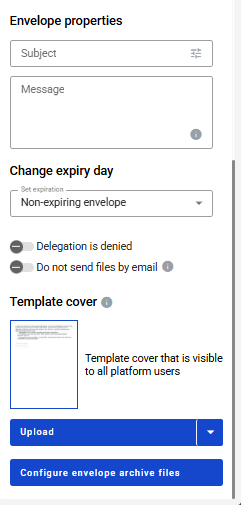
Envelope properties
In Envelope Properties, set the envelope Subject and Message.
All envelopes use these values by default.
You can also set the validity period.
Default validity is unlimited.
Click to view the screenshot...
Optional settings
Do not allow delegation. Use it when Delegation is enabled.
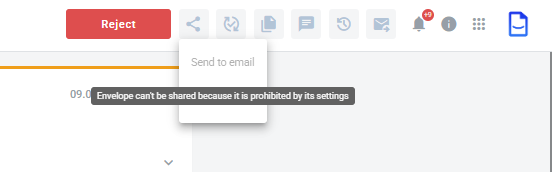
Do not send files by email. When enabled, Share envelope is unavailable.
Click to view the screenshot...
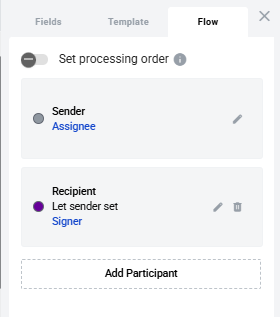
The Processing tab contains participant roles.
Click to view the screenshot...
Role types:
Sender. Creates an envelope from the template and sends it.
Fills in. Completes the specified fields in the document.
Signs. Signs documents when you use EDS or Signature fields.
Approves. Approves or rejects the envelope.
Receives a copy. Receives the final documents and does not affect the flow.
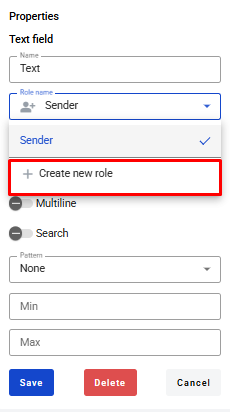
You can add a role from Processing or from Fields.
Use or .
Click to view the screenshots...
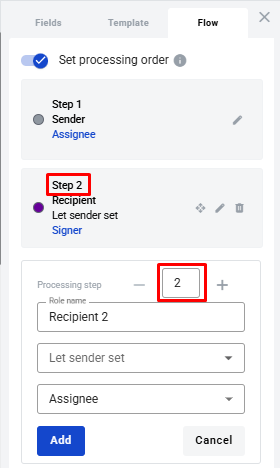
When adding a role, you can leave Mailbox blank.
The sender will fill it when creating an envelope.
You can also assign a recipient by Mailbox UUID.
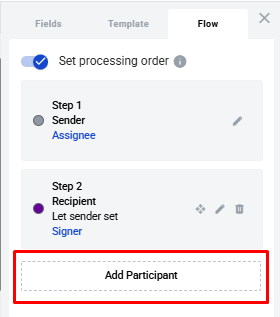
To set the processing order, enable Set Processing Order.
You can configure sequential or parallel steps in the role form.
Click to view the screenshot...
Finalise the template
When you finish setup, click or .
Click to view the screenshot...
When you send an envelope, the system saves the template automatically.
This works if all required fields are filled in.